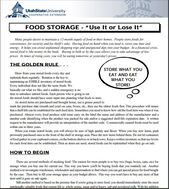
Inflation has done some crazy things to food prices.
What's a girl to do?
Don’t rush to the store!
That tends to make the problem worse, if you panic while others are panic-buying. Instead, be calm, watchful, resourceful, and grateful.
A couple of weeks ago, while chatting on the couch with a dear friend, she asked me, "With prices rising so quickly, are you beefing up your food storage?
An online definition says "beefing up" means “To make markedly greater in measure or degree.”
Am I doing that?
No, not really. The way I store food is centered on stocking up on what we use when it is inexpensive. Buying or gleaning what most don’t want right then.
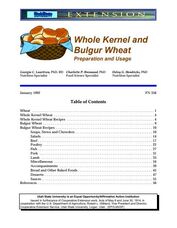
For example, look at what has happened with wheat. The retail price of a 50-pound bag jumped from $24.99 two years ago to $39.99 two weeks ago. (Oat groats -- the whole grain--- jumped even more, to $100 for a 50-pound bag.) Even so, every store in my area appeared to be completely sold out of wheat by the first weekend in April. Now is NOT the time for me to replenish a wheat supply. What I have is just fine. And if it wasn’t, I’d use more of some other grain in my rotation.
I did buy one bag of all-purpose flour at Sam’s Club two or three months ago—but that was before war broke out between two of the world’s biggest suppliers of wheat. I just knew that my flour quantity was a little lower than optimal, and the flour was a good price.
Good food storage habits not only allow you to buy at low prices, but to help moderate supply and demand. You HELP the supply chain! -by absorbing excess when there is too much of something—by purchasing then—and help the limited quantities go to more people when there’s more demand than supply.
In other words, good food storage purchases help even out the supply-and-demand cycle.
-They help reduce excess --by preserving it for later when supply is low-
-And reduce demand – by using reserves rather than purchasing.
Not only that, but doing this allows you eat at or near the lowest prices available within the food’s shelf life.
_____________
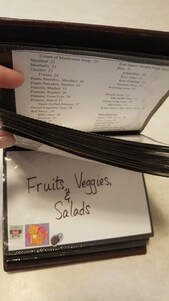
Now, if that friend had asked “have you added anything to your family storehouse lately?” the answer would be yes. I’ve been doing what I always do. Shopping for my family, keeping an eye out for anything that a store has too much of, that would be helpful to my family.
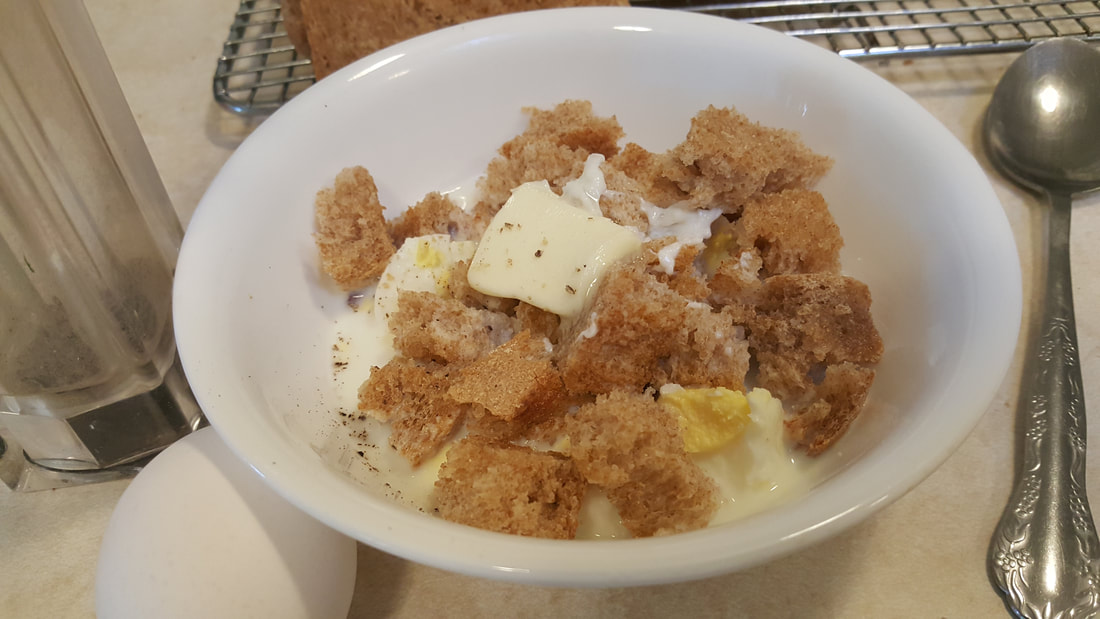
Want some examples? My two biggest food storage additions since inflation and war have combined forces are dried bananas (click for details on that) and flour. Not the single bag of flour I mentioned before. This was after prices went nuts. But remember that in 2020-21 it was hard to find flour? Apparently the flour had been produced, but had been sitting in warehouses waiting for trucks, or people who could drive those trucks. The overstock grocery store I frequent had just received multiple pallets of 25-pound bags of flour that had barely hit the “best by” date (see here for why that's not bad). They wanted the flour out, quickly. It was $2.99 for one bag, or $5.49 for two of them.
Our family goes through about 25 pounds of wheat and/or flour per month. (That's six loaves of bread every 7 days; there are currently 8 of us here, with more on Sundays). In my dark, cool basement, flour can stay fresh for about 3-4 years. I bought 8 bags, put the flour in buckets, labelled them, and rearranged the storage room a bit to get the oldest buckets in front, newest ones behind. It's not 'markedly greater' than what I usually have. The buckets they went in were already sitting empty, waiting for refill. Food storage is meant to be a cushion. There's plenty of flexibility in it.
And I'm feeling pretty grateful and amazed. Blessings are all around.
What have you found in your area?
What's a girl to do?
Don’t rush to the store!
That tends to make the problem worse, if you panic while others are panic-buying. Instead, be calm, watchful, resourceful, and grateful.
A couple of weeks ago, while chatting on the couch with a dear friend, she asked me, "With prices rising so quickly, are you beefing up your food storage?
An online definition says "beefing up" means “To make markedly greater in measure or degree.”
Am I doing that?
No, not really. The way I store food is centered on stocking up on what we use when it is inexpensive. Buying or gleaning what most don’t want right then.
For example, look at what has happened with wheat. The retail price of a 50-pound bag jumped from $24.99 two years ago to $39.99 two weeks ago. (Oat groats -- the whole grain--- jumped even more, to $100 for a 50-pound bag.) Even so, every store in my area appeared to be completely sold out of wheat by the first weekend in April. Now is NOT the time for me to replenish a wheat supply. What I have is just fine. And if it wasn’t, I’d use more of some other grain in my rotation.
I did buy one bag of all-purpose flour at Sam’s Club two or three months ago—but that was before war broke out between two of the world’s biggest suppliers of wheat. I just knew that my flour quantity was a little lower than optimal, and the flour was a good price.
Good food storage habits not only allow you to buy at low prices, but to help moderate supply and demand. You HELP the supply chain! -by absorbing excess when there is too much of something—by purchasing then—and help the limited quantities go to more people when there’s more demand than supply.
In other words, good food storage purchases help even out the supply-and-demand cycle.
-They help reduce excess --by preserving it for later when supply is low-
-And reduce demand – by using reserves rather than purchasing.
Not only that, but doing this allows you eat at or near the lowest prices available within the food’s shelf life.
_____________
Now, if that friend had asked “have you added anything to your family storehouse lately?” the answer would be yes. I’ve been doing what I always do. Shopping for my family, keeping an eye out for anything that a store has too much of, that would be helpful to my family.
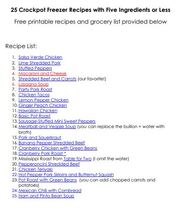
Want some examples? My two biggest food storage additions since inflation and war have combined forces are dried bananas (click for details on that) and flour. Not the single bag of flour I mentioned before. This was after prices went nuts. But remember that in 2020-21 it was hard to find flour? Apparently the flour had been produced, but had been sitting in warehouses waiting for trucks, or people who could drive those trucks. The overstock grocery store I frequent had just received multiple pallets of 25-pound bags of flour that had barely hit the “best by” date (see here for why that's not bad). They wanted the flour out, quickly. It was $2.99 for one bag, or $5.49 for two of them.
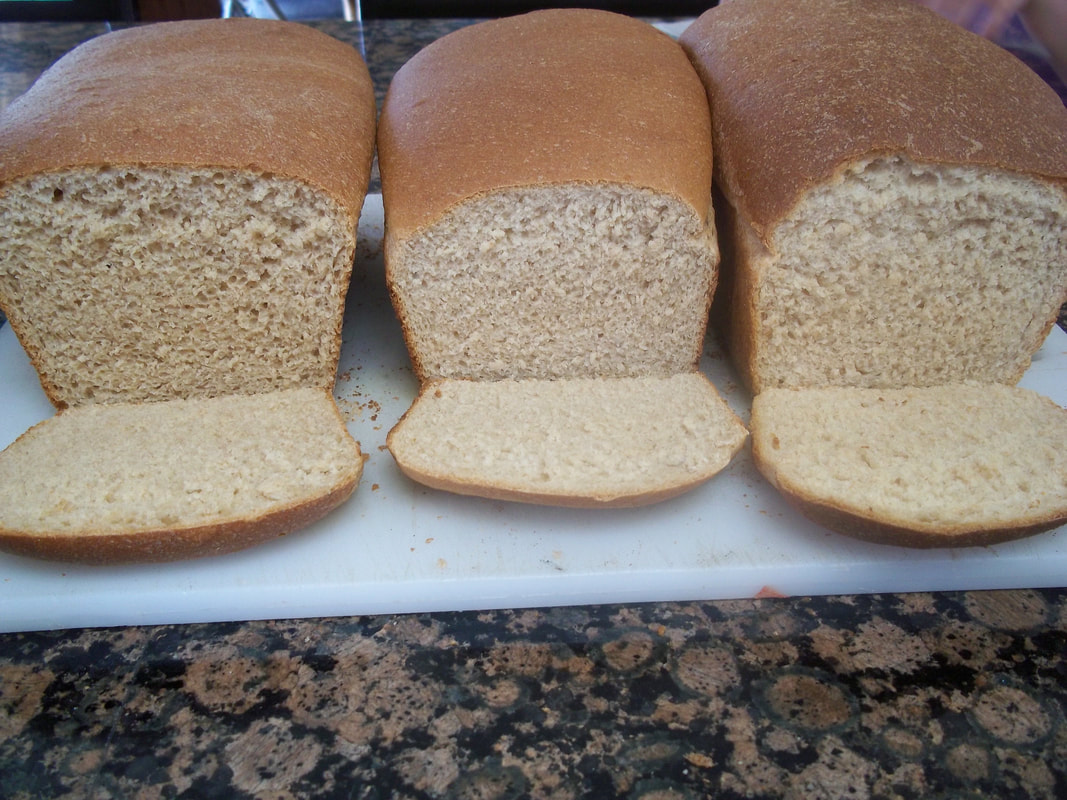
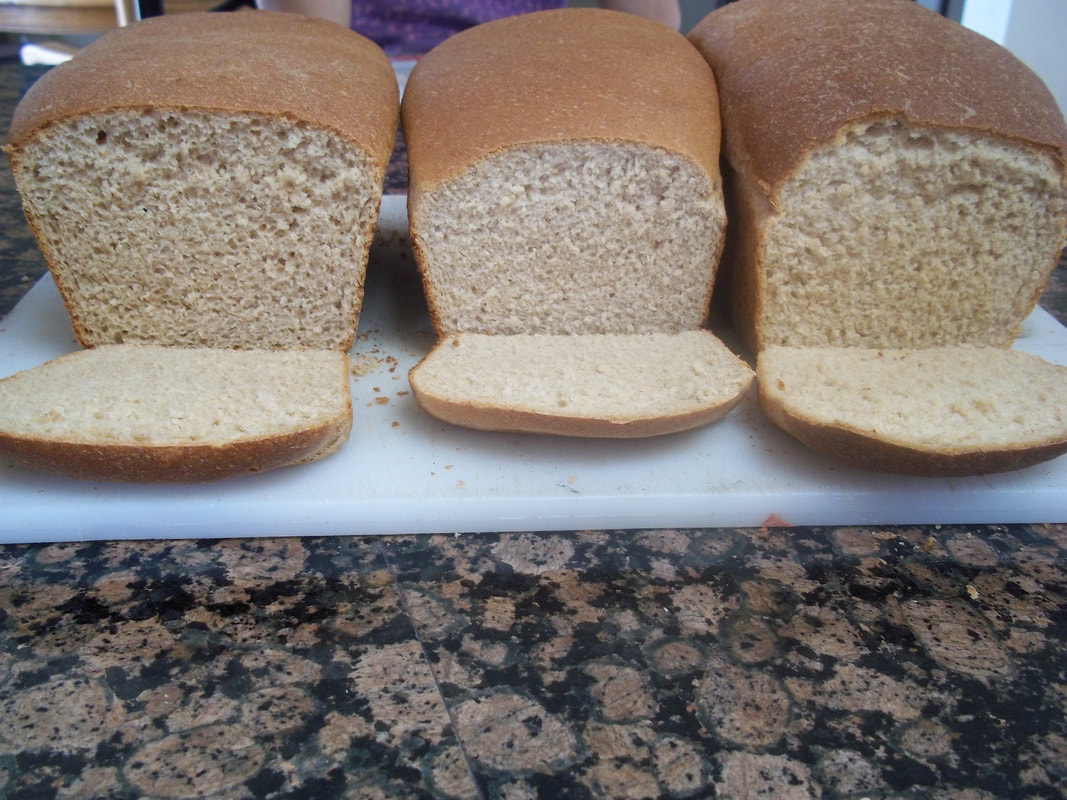
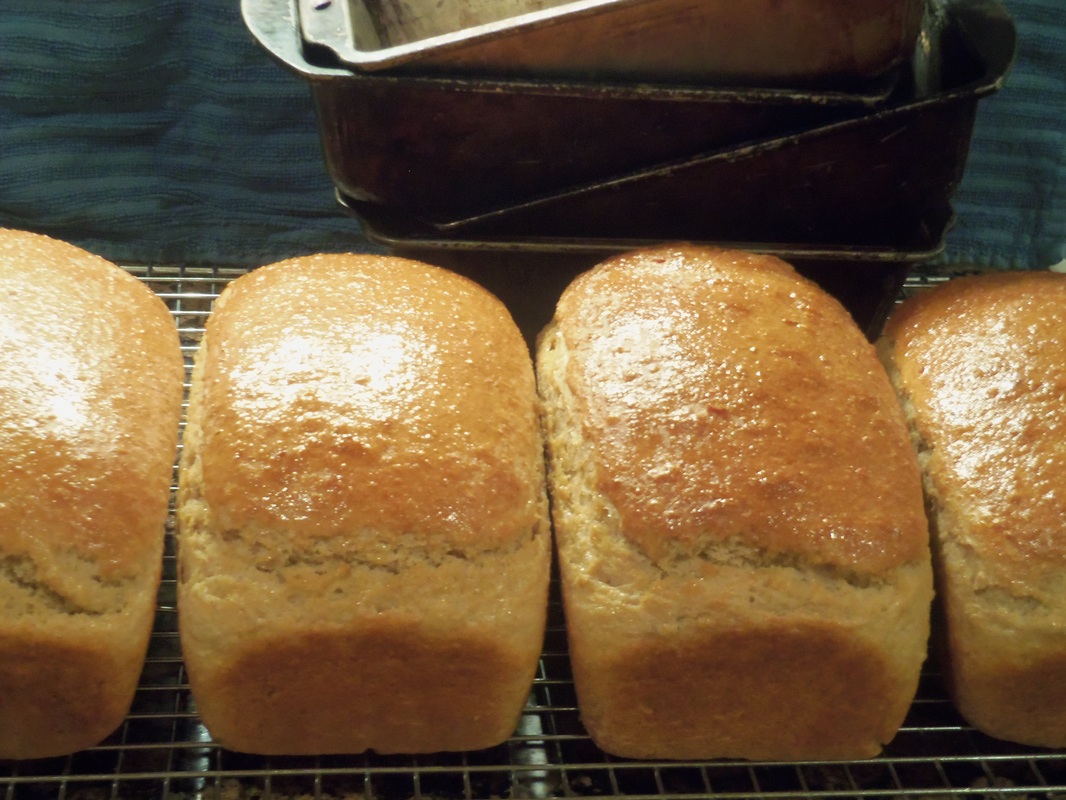
Our family goes through about 25 pounds of wheat and/or flour per month. (That's six loaves of bread every 7 days; there are currently 8 of us here, with more on Sundays). In my dark, cool basement, flour can stay fresh for about 3-4 years. I bought 8 bags, put the flour in buckets, labelled them, and rearranged the storage room a bit to get the oldest buckets in front, newest ones behind. It's not 'markedly greater' than what I usually have. The buckets they went in were already sitting empty, waiting for refill. Food storage is meant to be a cushion. There's plenty of flexibility in it.
And I'm feeling pretty grateful and amazed. Blessings are all around.
What have you found in your area?


 RSS Feed